Having a filter on your chart of accounts will restrict users to only be able to see/select certain values in the different coding dimensions. A well defined filter can make the work much easier for users, since they won't have to search through the drop-down menus filled with accounts that they will never use. It can also help ensure that users code correctly.
In IIS it is possible to define filters, and then activate these filters at different places in the organization. When changing a filter, it is not necessary to update every unit that uses this filter. If you for example add an account to the filter, this account will then be available to every user that has the filter applied.
Create and edit a filter
All filter editing is done in one place. From the Administration menu, click the "Coding filters" tab.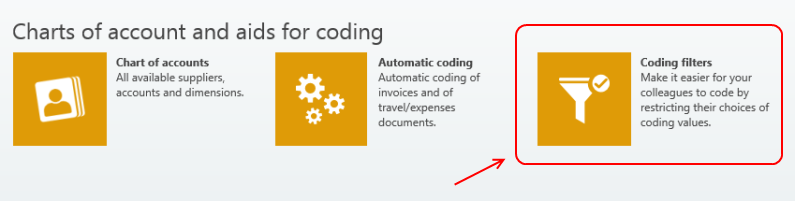
Create a filter
From the menu, click "new". Enter the name of the filter, and optionally a description. Then click "save". The filter is now created, and contains the entire chart of accounts. Below is a description of how to define the contents of the filter.
Edit a filter
Choose the filter that you wish to edit from the drop-down menu. Let the base filter remain as the "chart of accounts".
In this picture, you see two boxes and two drop down menus, next to each other. The left box contains the chart of accounts, and the right box contains the filter you have chosen. Let's create a filter for the dimension "Department". If you choose "department" in the left drop-down menu, you will see all the accounts in that dimension. Select the departments you want to include in the filter, and click the button with the arrow pointing right. These departments will now disappear from the left side, and will appear on the right side. By selecting a department in the right side and clicking the button pointing left, the department will be removed from the filter. Let's keep "Sheffield" and "Newcastle" in the right box, and click "save". Users who have this filter applied, will now only be able to code on these two departments.
If you want the filter to contain all the accounts for a dimension, you need to remove all the accounts for that dimension from the right hand list. If you don't see a dimension in the drop-down menu to the right, the users will have access to all the accounts in that dimension.
Base filters
Base filters can be of use if you want to create two or more filters that should be more or less the same. If the users of three different offices should be able to code on a certain set of accounts, with the only difference being the departments, for example. We will use the filter we have just created (Filter1), as the starting point. All of these offices should be able to code on the Newcastle and Sheffield accounts. Now for the differences:
Create "Filter2", and edit this as described above. Instead of selecting "chart of accounts" as the base, you will now select "Filter1". The blue color indicates that the values are defined by the base filter.
Now you may start to define the values that should be specific to Filter2, but not Filter1. The blue color will always indicate the values that are present in Filter1, while the new values that are defined in Filter2 will get the color green. Users affected by the filter will not see these colors, but it is a nice guide for you in getting an overview of the structure of the filters. Below, you see that the new value becomes green.
If you make changes to Filter1, this will also affect Filter2. This means that you can save a lot of time if there is a value that needs to be added to or removed from several filters at once. All the filters based on Filter1 will then be updated automatically. In our example, Sheffield will be removed from Filter2 if it is removed from Filter1. Leeds will remain unchanged no matter what happens in Filter1, because it is specially defined in Filter2.
Who is using the filter?
Select the filter and click "affected units". Here you will see a list of which offices and users have this filter enabled in the "filter" tab in "offices and users". It may be usefult to look at this list before you make changes to a filter.
In the image below, you see the ~ indicator. It means that the user/office has this filter applied directly on them. If the unit doesn't have the ~ indicator, it means that this unit has the filter because it is active on their office or because it is active in an office even higher up in the hierarchy.
Activate a filter
Activating a filter for an office
Select an office in "offices and users". In the tab "filter", and click the check box "use separate filter for this unit". Select the filter you want to apply, and click "save". All users withing this office and sub-offices will now have this filter applied. You may, however override this by using other filters on the users and offices you want.
Activating a filter for a user
You may also set a filter on users. Select the user in "offices and users" and click the tab "filter". Click the checkbox "use separate filter for this unit", select the filter, and click "save". The filter will now be applied to this user, no matter what filter is specified in any of the offices above them in the hierarchy.
Filter

Comments